Download How to Model World War II German Armor by Carl McLaughlin PDF
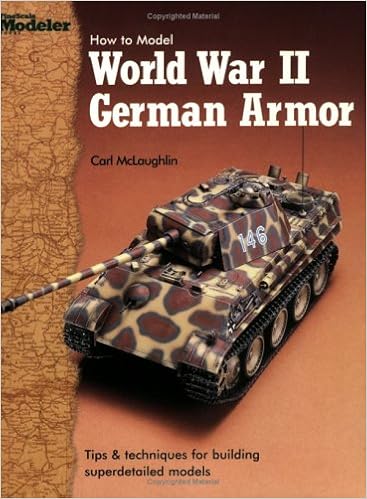
By Carl McLaughlin
This e-book covers the entire components one must understand while modeling AFVs portray, dry-brushing, photo-etched components even diorama development. Its chapters and writing variety is specified by a logical and easy-to-read manners
Read Online or Download How to Model World War II German Armor PDF
Best toys & models books
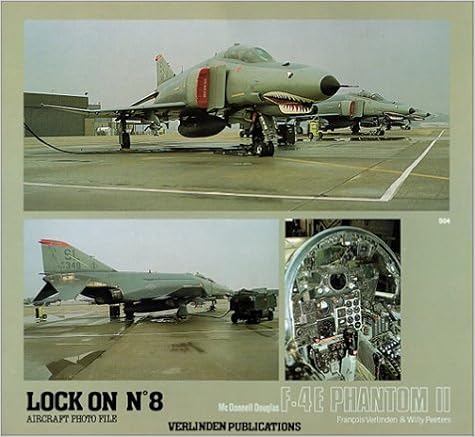
Lock On No. 8 - McDonnell Douglas F-4E Phantom II
Smooth hide 36 pages a hundred complete colour images five USAF technical drawings The 8th installment within the LOCK ON sequence, this quantity highlights the vintage gun-nosed McDonnell Douglas F-4E Phantom II. sporting on the LOCK ON culture, this publication is loaded with a wealth of details within the kind of appealing complete colour photos with hugely descriptive captions.
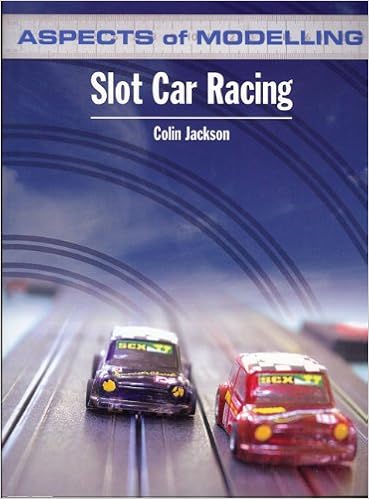
Aspects of Modelling: Slot Car Racing
Development at the acclaim for the facets of Modelling sequence designed essentially for railway modellers, Ian Allan Publishing is extending the assurance of the sequence to surround different pastime modelling components. the 1st of those titles appears intimately at a space of accelerating popularlty around the globe, that of slot motor vehicle racing, that is practiced either at an equipped membership point, but in addition at domestic utilizing Scalextric and different comparable brands' items.
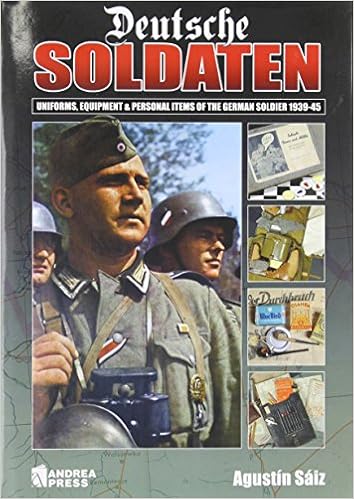
German combat uniforms, 1939-1945
A global conflict army background
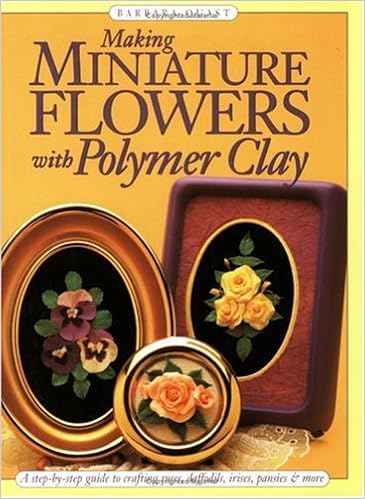
Making Miniature Flowers with Polymer Clay
With Quast's petal-by-petal demonstrations, somebody can discover ways to make gentle, miniature plant life ideal for jewellery, containers and extra.
- Modelling the Messerschmitt Bf 109F and early G series
- chihuahua-crochet-pattern
- Ancient & Medieval Modelling
- Lock On No. 18 - Grumman F-14A/B Tomcat
- Scroll Saw Art Puzzles
- Fast, Fun & Easy Fabric Critter Bags- Print on Demand Edition
Extra resources for How to Model World War II German Armor
Example text
Make a secure knot. Place the button on top of the knot, and stitch the button to the body through the holes. You may find it helpful to pinch the body so that you can more easily stitch in and out of the buttonholes. When the button is securely attached with multiple stitches, insert the needle into a buttonhole and bring it out the underside of the button, on top of the body. Make a wide loop with the thread, and tie a knot around the underside of the button. A square knot will hold more securely.
Stuffing and Closing Up There are several ways to finish a piece, but the most common way in toy patterns is to draw the yarn through the last stitches and cinch them closed together. Unless it is open-ended, stuff the piece before closing it up. You should begin stuffing a few rounds before the end of the piece, when the opening is still big enough to reach inside. When stuffing a large toy, you may need to use more stuffing than you would expect in order to completely fill out the shape, including all nooks and crannies.
Rnds 33 and 34: Knit. Rnd 35: [K2tog, k5] 8 times (48 sts). Rnd 36: Knit. Switch to DPNs now or whenever it’s comfortable. Rnds 37–43: Continue to decrease 8 stitches every other round, with the number of knit stitches after the k2tog decreasing by 1 each time, until 16 stitches remain. Rnd 44: [K2tog] 8 times (8 sts). Break yarn and draw tightly through the stitches with a tapestry needle. TONGUE/MOUTH LINING With C, cast on 26 stitches onto 3 DPNs and join to work in a round. Rnds 1–10: Knit.